
A useful apparel tech pack turns a design idea into instructions that a pattern maker, sample room, and production team can follow. For a buyer, its real value is not the number of pages but the clarity of each decision and the discipline used to record revisions.
Start with a complete product overview
Open with the style name, season, category, intended customer, size range, and a front-and-back flat sketch. Add reference photos only when they clarify a detail; a reference should not replace a measurable instruction.
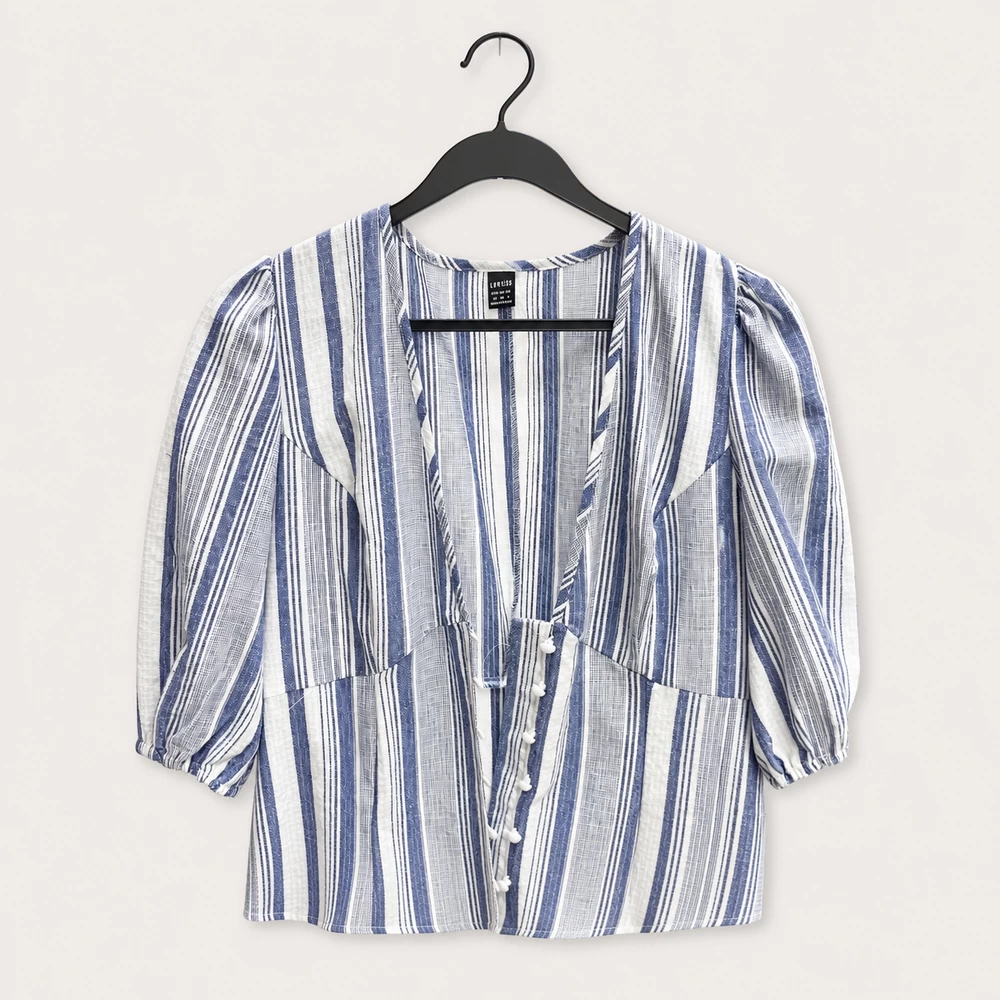
For products such as a puff-sleeve blouse, call out the neckline, sleeve volume, cuff construction, closure, hem shape, and stripe direction. Give every component a consistent name so comments remain traceable across revisions.
- Style number and version date
- Front, back, and detail sketches
- Target size range and base size
- Intended use and key fit expectations
Make measurements reproducible
A measurement chart should state where each point is taken, whether the garment is relaxed or stretched, and the permitted tolerance. Include a diagram for less obvious points such as armhole depth, front rise, or neckline drop.
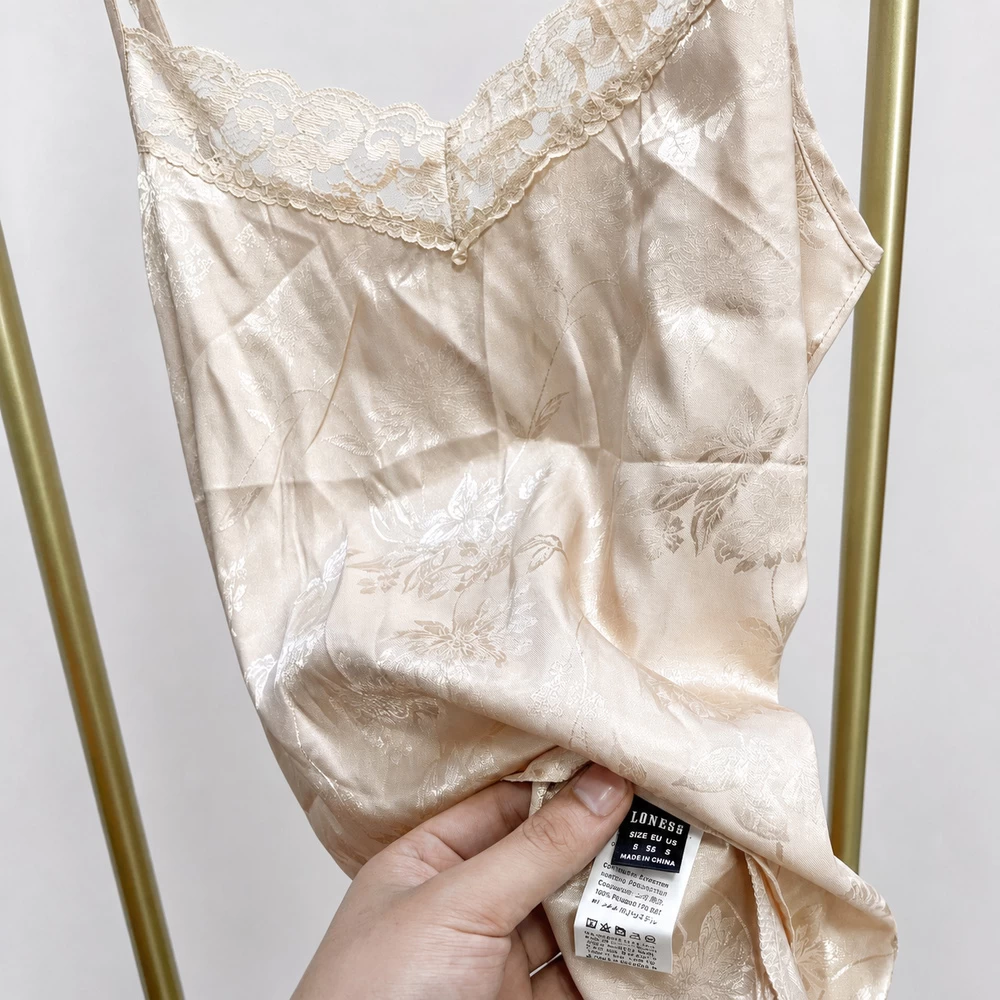
Avoid copying a generic chart without testing it against the intended silhouette. A fitted camisole and an oversized woven shirt can share a bust circumference but need different ease, strap, armhole, and length decisions.
| Specification area | What to define | Common gap |
|---|---|---|
| Points of measure | Location, method, base size | Ambiguous start or end point |
| Tolerance | Acceptable plus/minus range | One tolerance applied to every point |
| Grading | Rules by size | Only the sample size is documented |
Document materials and construction
List the main fabric, lining, interlining, thread, trims, closures, and labels with usable references such as composition, weight, width, finish, and color standard. If a fabric is still being sourced, describe the required hand feel, opacity, recovery, drape, and end use.
Construction notes should identify seam and stitch expectations, edge finishes, reinforcement points, pocket structure, and placement dimensions. Confirm all values with the supplier based on the final specification.
- Bill of materials with supplier or swatch reference
- Stitch and seam callouts at critical areas
- Artwork files with dimensions and placement
- Label and packaging placement diagrams
Control revisions with one source of truth
Use version numbers and a dated change log after every sample review. Put approved comments into the current tech pack instead of leaving decisions scattered across messages, annotated photos, and meeting notes.
Before bulk approval, compare the latest sample against the current file and close every pending item. Buyers can also review the current product range to define comparable silhouettes when preparing a request.
Buyer FAQ
Does a tech pack need a full pattern?
Not always. Many buyers provide drawings and measurements, while the supplier develops the pattern; the required workflow should be agreed before sampling.
How many measurements should be included?
Include every point needed to control fit and appearance. The right count depends on the garment, so confirm the list against the final design.
Can photos replace construction drawings?
Photos can support a callout, but measurable sketches and written specifications reduce interpretation risk.
When should the tech pack be updated?
Update it after each approved change and before the next sample or production stage begins.
Prepare a clearer sourcing request
Send the product type, material direction, size range, intended use, customization details, quantity, packaging, destination, and required timing. A structured brief makes the next sampling discussion more efficient.
Contact us